


Sometimes, hosting a blog on Webflow or Wix can be pretty expensive every month when you've just started writing content on it and your website isn’t generating traffic or revenue at all.
In this article, I will show you how to avoid hosting your website on these platforms but still be able to use them as a code builder, which will save you a lot of time if you’re not a developer.
Why would I want to host my website for free?
There are many reasons why you would want to host your Webflow website for free. The most obvious reason is to save money. By hosting your website on a free platform, you eliminate the need to pay for hosting fees.
It can take time for a website to generate revenue. In the meantime, you are paying $10-$20 per month, which is very expensive.
Sometimes entrepreneurs have websites that will take years before being well indexed by search engines, even if their SEO strategy is on point.
How much does Webflow currently cost ?
Paying plans allows you to host your website on Webflow with a custom domain, here are the different pricing currently applied when it comes to bloging:
- Free plan, you can host your website without a custom domain for example yoursite.webflow.io, you can have up to 50 CMS items and up to 2 static pages. This plan is really bad for SEO because you don’t have your own domain.
- $15.00/month subscription does not include the CMS capabilities, this means you can create up to 100 static pages, have a custom domain but you won’t be able to have a blog that can easily grow with the CMS.
- $20.00/month subscription includes 100 static pages and CMS capabilities. This is the plan usually picked by bloggers who wants to create content. With this subscription plan, you can create up to 2000 CMS items.
The other plans does not concern us, we want to focus on blogging, not e-commerce.
But what is a CMS?
The CMS is a functionality that will help you build dynamic content on Webflow. With the CMS, you can create collections that contain items. For example, you can create a "Blog" collection that will contain all your "blog post" items with the content you created. Then you will be able to render on the different pages the list of blog posts or the blog post content itself on a dedicated page without worrying about creating this page.
The easy solution is to host your Webflow for free
Webflow offers different account plans that start at $24/month that will give you the ability to export the code of your website and host it on a free platform. The problem with this solution is that you still have to pay $24 a month just to export the website.
It means that every time you need to make some modifications, you will have to pay again just to be able to export your changes.
This can be a good solution for websites that do not change very often, but it is not a sustainable solution for bloggers who want to create content every month.
My solution to hosting a Webflow website for $0
If you’re a blogger or just want a nice looking website with a few static pages, then this solution is right for you! If you want to build a website with e-commerce capabilities, then this solution won’t be a good fit for you.
#1 step: Stick with the Free plan
The free plan will allow you to deploy the Webflow website on a default domain of yoursite.webflow.io, but bear with me; this is just the first step.
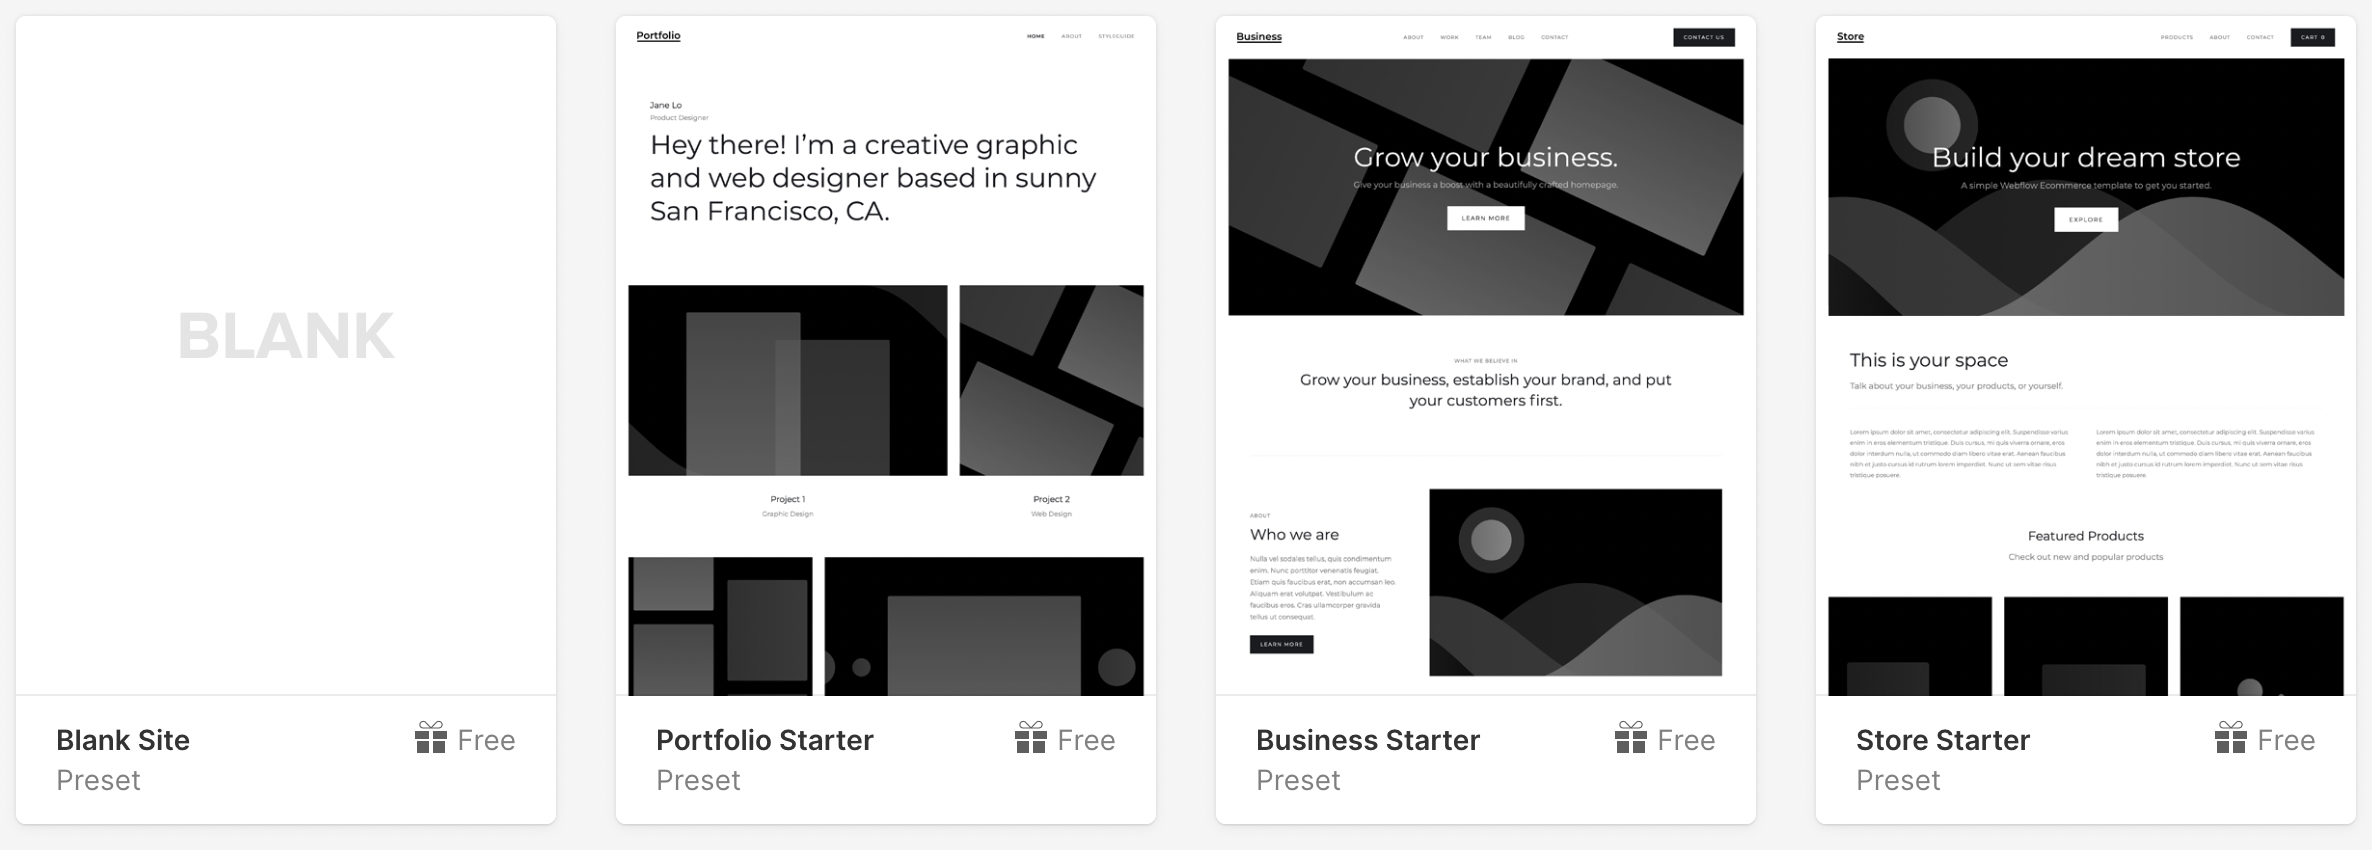
The issue with the free plan is that you can only create up to 2 static pages, which is not enough if you want to add an "About me" page, or a "Contact" page, etc. To counter this issue, you can create a website with the Business Starter template which already has 9 pages by default. You can then remove all the styles and create what you’d like on these pages.
#2 step: Get your website ready to deploy
Once you’ve built this beautiful website, you can deploy it on yoursite.webflow.io.
.png)
#3 step: Install httrack
Httrack is a free website copier tool (open-source) that will allow us to copy all the html pages currently hosted on webflow. To download and install httrack go to their website.
#4 step: Launch httrack and copy your website
If you’re running on MacOs, open a terminal and type the following command, by specifying your website URL and the folder you want to output the files to.
- -w option says we want to mirror the website.
- -O option specifies the output directory.
If you’re on windows, you just have to start the .exe file and specify your website URL and output folder.
#5 step: Check the result
Once done, you can go to the output folder and you will see a folder with the same name as your website URL. Go inside and open the index.html file to verify that the content is right.
On my side, I have the website with all subpages ready 👌
.png)
#6 step: Remove the Made in Webflow banner
.png)
If you want to remove the webflow banner, you can hide the badge by adding this css rule before the end of your body tag:
#7 step: Deploy your website to Firebase Hosting
Now that we have all our HTML pages linked together, we can go and host our website for free on Firebase Hosting, which has a large free tier, but you could also go with Heroku, Netlify or other platforms.
Go, create an account on Firebase, and create a new project.
.png)
→ On the left panel, go to Build > Hosting and click on Get Started.
→ If you don’t have it already installed, go ahead and install npm and node.js
→ Now that you have npm installed, you can run the following commands:
→ Once done, go to your project folder. In my case, I will run this command:
→ Run firebase init:
→ Select this option with the arrows and space key and then press ENTER:
.png)
It will prompt you to select an existing project, select the one you’ve created.
Then in the next questions, set the following options:
.png)
Once finished, you can go inside the /public folder that has just been created and remove the default files in it.
Now go to your project folder and copy all the HTML files and subfolders into the /public directory.
Once done, you can deploy your website using this command:
.png)
If you go to the URL, your website is now deployed and without spending a penny 🎉
#8 step: Setup a custom domain
You can now setup a custom domain inside the Firebase console so that your website is well referenced by search engines.
.png)
Help some pages are missing!
If some pages are broken with a message like: 502 Bad Gateway, it means that the files were not downloaded correctly with httrack.
To fix this issue, you can download these pages separatly one by one by running this command:
And then don’t forget to copy the file inside the /public folder before deploying again on Firebase.
How to remove the .html extension from my URLs ?
Go inside the firebase.json file and add this line “cleanUrls”: true,
Conclusion
Hosting your website for free not only saves you money, but it also gives you the freedom to choose a hosting provider that best suits your needs.
Hosting is an integral part of any website. So, it's important to find a reliable and trustworthy service provider. Some providers offer hosting services at a cost while others are free of charge.
There are many benefits to hosting your Webflow website for free. It saves you time and money, and if you just get started, not paying $20/month can be a real game changer for your business.
Firebase has a quite large free tier before you have to pay anything, especially if you have small traffic at the beginning.
Note that this tutorial can be done with pretty much any website builder, if you’re using Wix, it also works!


